Bread. One of the most representative elements of Galician cuisine and essential foodstuff in our daily diet. It seems unbelievable that this nutrient, with such a intricately simple taste, may be the result of the basic mixture of water and flour. Each loaf, each baguette, each bun has a unique flavour, the result of the exact mixture of water and the cereal of choice. Kitchen spells.
If I look back, my memories in a kitchen always go hand in hand with a piece of bread: the crust of a fresh baguette in the morning, that last piece of stale bread that tastes so good when there is hunger (stale bread is better than no bread) or a piece of rye with a slice of ham. Valuable little things that settle in the memory of your palate and in your heart.
That is why, as a good bread–lover, I live by the mantra: “Those who do not like bread, are not trustworthy.” Who in their right mind could question in the grandeur of bread?. Exactly, no one!
Once I came up with the idea of launching this blog, I instantly decided that bread should be the inaugural recipe of this project because, after all: there is no party if there is no bread.
Ingredients
- 600 millilitres of lukewarm water
- 160 grams well-active sourdough
- 90 grams of Galician flour (you can use wholemeal if you cannot find Galician flour)
This recipe takes time, as it is a slow fermentation process, but it is not necessary to use any kind of machine or make a great effort. You just need to use a large bowl and loads of patience.
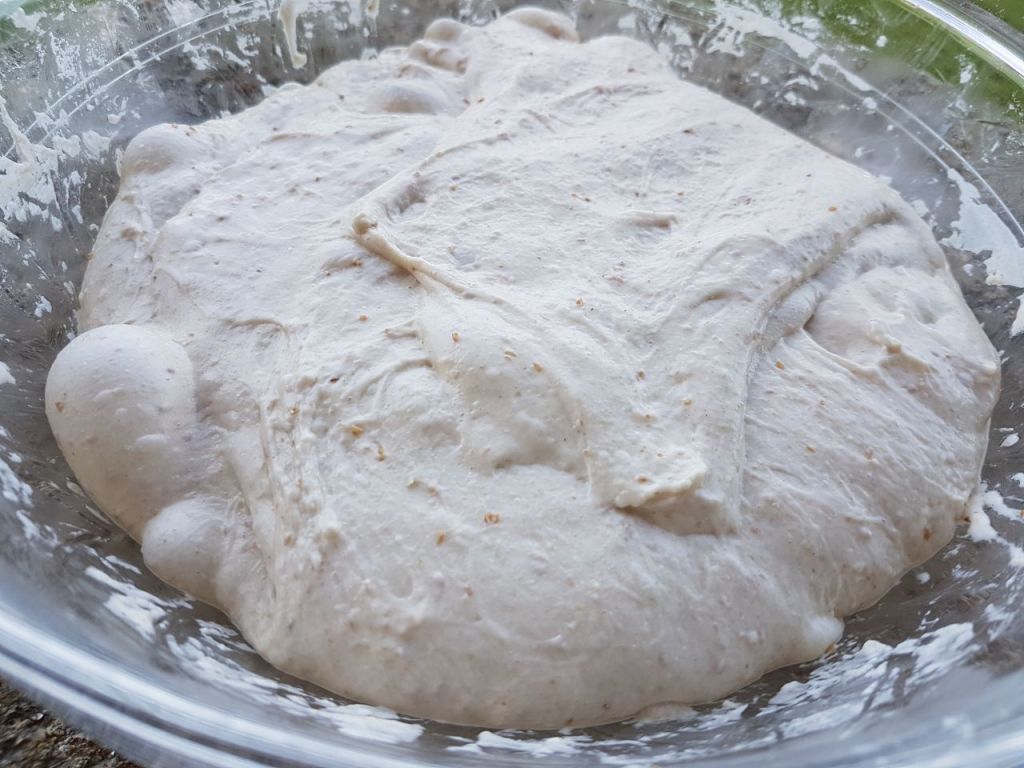
To start, mix the flours with the lukewarm water (until there is no trace of dry flour) in a large bowl that allows working the dough comfortably. Although you can use plastic containers (always BPA free) I recommend using glass when working with yeasts. Needless to say that it is a matter of personal preference.
As for the amounts of water and flour, it will depend a bit on the flour you use, as not all flours have the same absorption. In addition, I always follow approximate amounts that would be: between 60-70% Water (depending on the type of flour) and 20% sourdough.
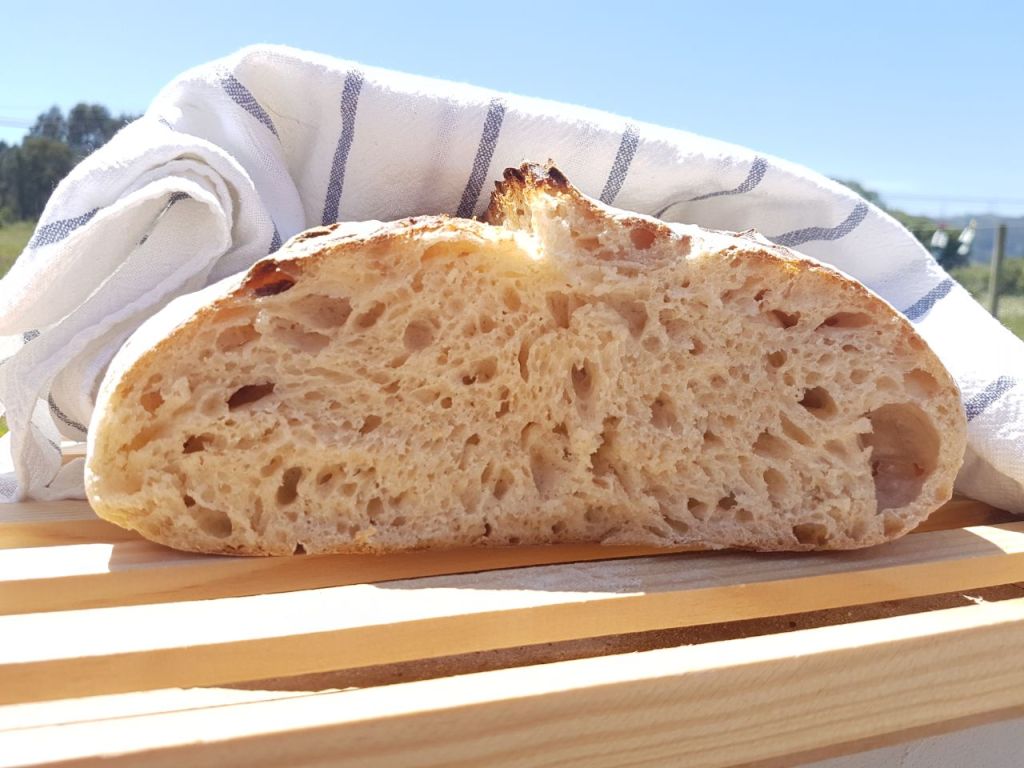
Once the dough is formed (it will not take more than 2 minutes mixing until the flour is well incorporated into the water) let it rest for about 20 minutes in a dry place so it starts kneading itself. This process of self-management is called autolysis. During these 20 minutes, the dough will self-digest its own cells, thus achieving a much more honeycombed and digestible bread.
To create a warm atmosphere it is highly recommended to cover the bowl, creating a kind of greenhouse. Usually, a cloth is used as a blanket, however I usually use a shower cap as the plastic creates a humid environment that contains the fermentation gases. Furthermore, being a plastic element (of which I am not a big fan) recycling shower caps is a very good option as it can be washed and even, as in my case, patched, instead of discarding loads of plastic film.
After the first 20 minutes, add the sourdough1 to the mix, either with your fingers or accompanied by a spatula. 10 minutes later, add the salt. Once this last element has been introduced, let the dough rest, starting the block fermentation. This type of fermentation takes about 4 hours, if we are able to maintain an ambient temperature of 25 degrees Celsius. In Galicia, if it is not summer, it is quite complicated. For this reason, I try to give it about 6 hours. You will see that the issue of weather is always variable: it will depend on the humidity, the flour and even the water you use. Bakery (like most things kitchen related) is a matter of trying.
Once the block fermentation begins, fold the dough to give it more elasticity and create tension. Perform the stretching and folding technique first by tightening the dough without breaking it, and then folding it towards the centre, as if we were doubling a piece of paper. Do this manoeuvre (every 30/40 minutes in the next 4/6 hours) in four movements: upper side of the dough, lower side of the dough and finally on the sides.
During this period of time you will see how the dough becomes smoother and brighter (even filling with bubbles) a sign that the gluten is doing its job.
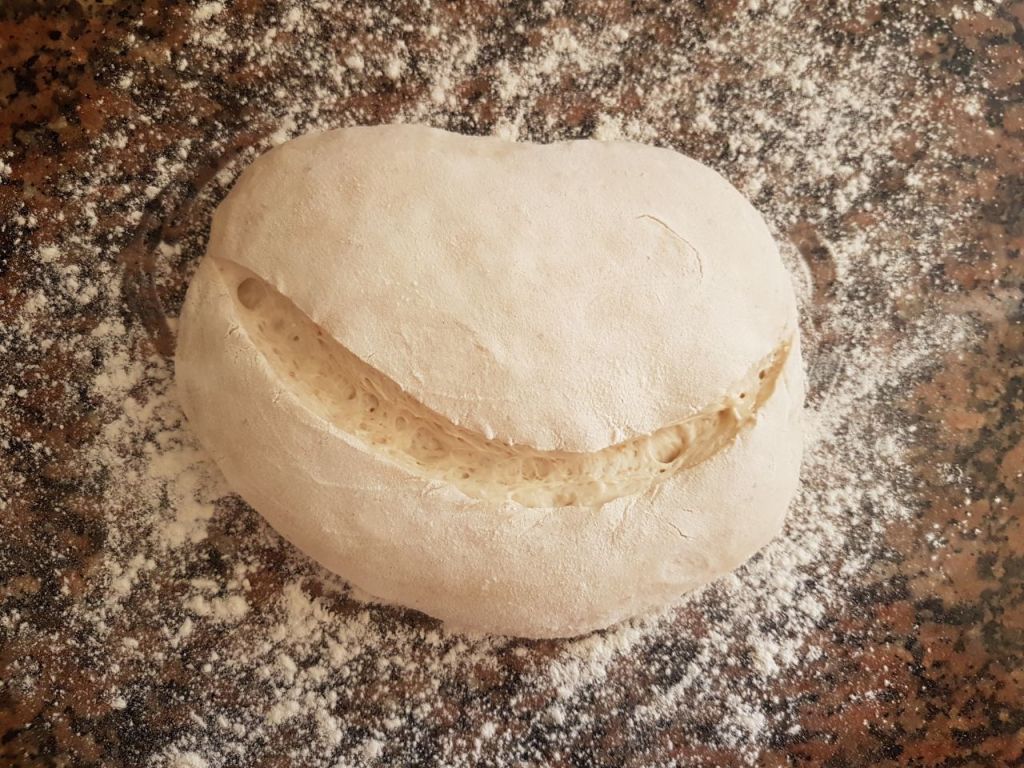
After the block fermentation time, flour the work surface to shape the doughs (or dough) depending on the size you want to give them. Once the dough is divided into pieces you see fit, carefully stretch it into a rectangular form, then roll it up and shape our bread. Afterwards, flour the dough and put it in a banneton or in a floured mold. Cover it and let it rest in the fridge for 14/16 hours (or overnight) so that the fermentation process comes to its final state.
After this final step, preheat the oven to 250 degrees Celsius with a cast iron oven (Dutch oven) inside, as this is where you will bake the bread. If you do not have a Dutch oven, it is fine, place a stone or bake the dough directly on the baking tray.
Once the oven is hot, put the loaf on parchment paper. Flour its surface and, with the help of a knife or a blade, make some cuts to the dough. With great care, remove the Dutch oven from the oven and put your bread inside quickly so as not to lose the heat of the cast iron. Next, cover and bake for 20 minutes. Once that time has past, remove the lid from the Dutch oven and put the loaf back in the oven (about 15 more minutes) so that the crust is well toasted. Again, the issue of times will also be subject to the potency of each oven, as not every oven heats up equally.
Once our bread has the desired crust, take it out of the oven and let it cool on a grill for a couple of hours before cutting it.
Enjoy!
1 If you don’t know how to make it, look for my sourdough recipe on the Search engine.